Starting seeds early in the season
As we are probably all itching to begin the growing season, I thought it might be helpful to talk about starting seeds off early and how to give the best chance of success.
As we need extra warmth to sow seeds in the colder months, I will inevitably be talking about propagators and, while I don't want to turn this into a sales pitch (obviously we sell propagators), I think it will be helpful to cover the pros and cons of each type so you can decide if one would be beneficial to you.

Small Vitopod Electric Propagator Single or Double Height
View ProductThe Importance of Not Sowing Seeds Too Early
I know I say this every year but the key to early sowing is not to sow too early! It is important to remember that if conditions aren't favourable for a plant to grow without assistance (extra heat), there is no point in germinating the seed in the first place.
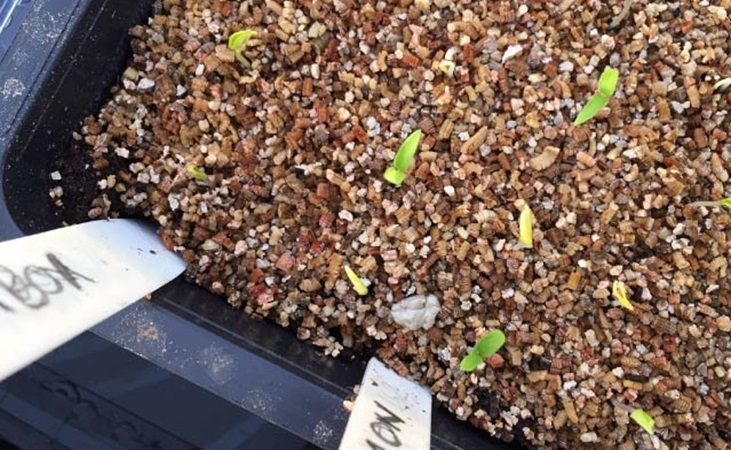
In general, cool climate seedlings (those destined to be planted directly outside) will be ready to plant out 3-4 weeks after being sown in a seedling tray. Given that conditions for most outdoor crops won't be warm enough until mid April or early May (depending on where you live), there is obviously no point in starting seeds in January or February because they can't be transferred outside.
Yes, you could pot on to a larger pot (I did a lot of this last year because the Spring was so cold) but unless you have to, it is a lot of extra work and expense (you need larger pots and a lot more compost). Also bear in mind that once the weather warms, plants grow quickly so will likely catch up with early sown plants (which will be weaker in the long run due to their tougher start).
Growing indoors
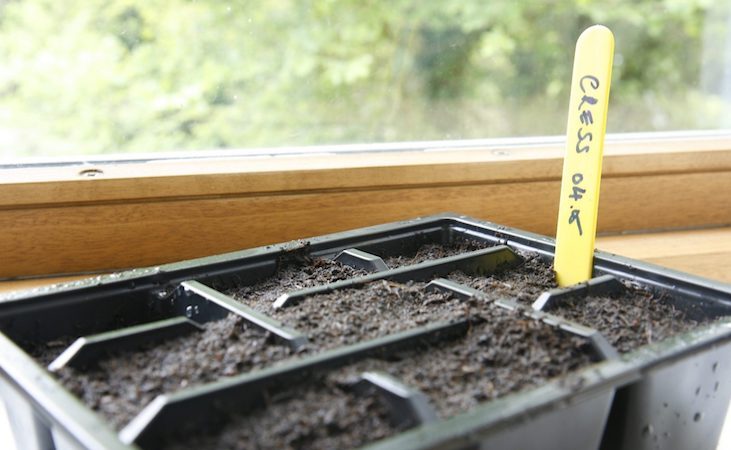
I think it is also worth mentioning that a windowsill or other bright area in the house is not really ideal for growing seedlings as - no matter how sunny the spot - it will only get approx. 30% of the sunlight available outside or in an unshaded greenhouse.
I'm not saying your house can't be used to start seeds (it can and very successfully), only that it is not an ideal place to grow on most plants because of limited light. Therefore the less time they spend indoors, the better.

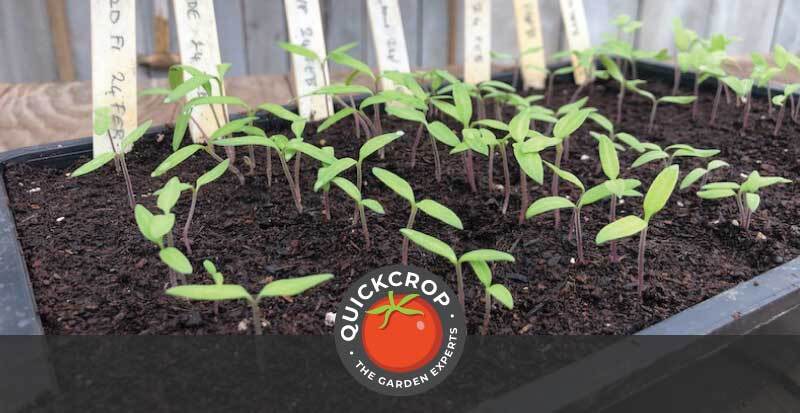
The problem with low light levels and a warm ambient temperature (your house is probably about 20˚C) is that the growing plant will assume there is light somewhere because of the warmth and grow fast (and weak) to try to find it. The result is the characteristic tall, elongated shape seen in the tomatoes above, an appearance you will often hear referred to as 'leggy'. It's not a major problem with tomatoes as it happens, because you can bury the stem when planting - but it can be an issue with other plants.
Anyway, you get the idea: there's no point in nursing along a load of light-starved seedlings when all they want is to be outside. If your plant takes 4 weeks from seed to planting out, and it is only warm enough to plant out in late April, then your sowing date is late March.

Exceptions to the rule
The exceptions to this rule are crops that are cold tolerant (like broad beans) or plants that need an early start in order to have enough warm summer weather to give their best crops (e.g. tomatoes, peppers or cucumbers).
I don't sow anything in January, with the exception perhaps of carrots and Asian salads in the polytunnel at the end of the month (depending on what the weather is like). February isn't that busy either, but once we get past mid month, light levels and daylight hours give more options. I sow broad beans for planting outside in March, broccoli calabrese, beetroot and spinach for tunnel growing on the 14th, and tomatoes and chillis in the last week of the month.

Germinating seeds in a Polytunnel or Greenhouse
Given the choice, I would always prefer to grow seedlings in a greenhouse or polytunnel rather than in the house because there is 3 times as much light. The problem, of course, is that, unlike your house, the greenhouse or tunnel hasn't been centrally heated - so we need an extra source of heat. And this, finally, is when we come to propagators.
Types of Propagators Compared
Your seedling propagator options include heated or unheated versions. Unheated propagators are, in my opinion, better for indoor windowsill propagation: they don't get that warm in overcast weather, and are obviously cold at night so need the latent heat of your house. This is the case for early sowing, but they are much more useful in March when temperatures in the greenhouse or polytunnel are more clement.
The Fab 4 and Super 7
The next step up is a basic, non thermostatically controlled, heated propagator. A propagator without a thermostat can't be set at a specific temperature, so it won't switch itself off when it's warm enough, but given their size they still use very little power.
Most (including the Fab 4 and Super 7 that we stock) are designed to keep the compost temperature 8˚C above the ambient temperature outside the unit. Therefore, if you have the propagator in an unheated greenhouse at a temperature of 10˚C, the maximum temperature the compost will reach is 18˚C (which is about the correct germination temperature for most vegetables). If the temperature at night falls to 0˚C, the propagator can only reach 8 - but this will be enough to protect emerging seedlings from frost.
Both the Fab 4 and Super 7 include separate mini propagation pods that sit in the heated tray (4 and 7 respectively). Obviously small pods like this aren't designed for germinating seeds in individual modular trays, but they are suitable for 'pricking out', a practice where seeds are sown in close proximity and later transplanted to a larger tray or pot once they have come up.

The photo above (from last year) shows lettuce seedlings grown together in a tray, which I have just finished transplanting into a modular tray with individual cells. Even though 'pricking out' is a bit more 'work' (it is fun), it is arguably a better method because seeds tend to germinate better when closely sown, and you can then choose the strongest plants to transplant and grow on.
The other advantage, and a very handy one if you have a small propagator, is that you can germinate 100s of seeds in a very small space; you only need more room when you transplant to a larger tray when, for most vegetables, no further heat is required.
The Vitopod
There are many other heated propagator options on the market, plenty cheaper than the Vitopod, but we go straight from the basic windowsill units to the Vitopod because we don't see the use for anything in between. As we've just said, you can do perfectly well with a small and simple unit, but the advantage of a larger propagator is that growing plants can spend longer in a protected environment.
The clever feature of the Vitopod is that it is a modular, stackable design which - by adding extra side panels - can reach as high as you need it to. The advantage here is principally for warm climate crops: they are sown in February or March but can't survive without protection until it is warm enough to plant out in late April or early May.

Being a thermostatically controlled unit, the Vitopod only fires up when the temperature falls below your setting: which means it may not be on at all on a sunny day (when the temperature inside is warm enough) but will turn on again at night or on cold, overcast days. The thermostat control is particularly easy to set, so it's not going to be a chore if you wanted to set a lower nighttime temperature to avoid leggy seedlings but turn it up a little in daylight.
Lastly (and this may not seem a big deal), but the Vitopod has good, large adjustable vents both in the sides and the lid, which are important for airflow and to regulate temperature. In my experience, many other designs struggle with inadequate ventilation.
Bio Green Tunnel Propagator
The Bio Green Jumbo Propagator is another option for housing larger seedlings, and features a removable aluminium foil heat mat and a mini-polytunnel type design. I used this one for the first time last year and have to say I liked it a lot.
In terms of ventilation it is excellent: the gable ends can be opened or alternatively each side can be opened completely. I also like the fact that the mat can be removed and used separately, as when plants get too big for the propagator in April (principally tomatoes) they can still be protected at night using the mat (late March and April are usually warm enough in a tunnel in the daytime).
The 'Thermo 2' thermostat is an updated version of the excellent unit used on Bio Green soil warming cables, which we use in our nursery tunnels. I have said it before plenty of times, but the first thermostat we bought when we started the business (nearly 14 years ago) was a Bio Green thermostat and is still in use today.
My only worry would be how long the cover will last in the harsh environment of the tunnel, but replacement covers are available and are relatively inexpensive. I have only had mine a year (with no problems) so can't speak from direct experience.
Bio-Green Soil Cable and Thermostat
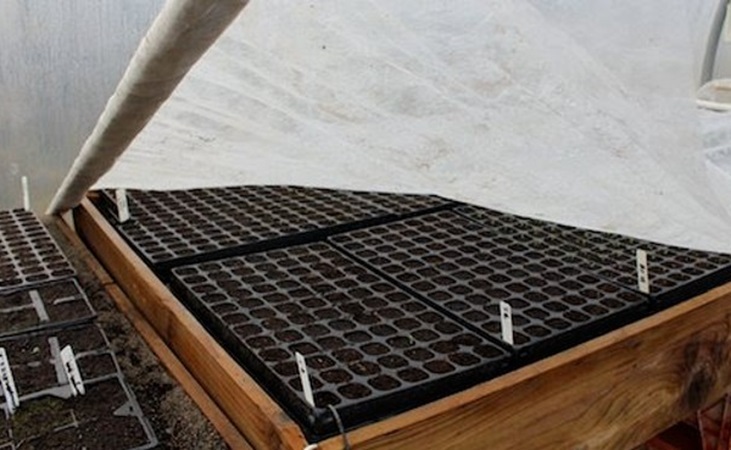
The last, and very different option, is using a heated cable to provide the bottom heat needed for germination. There is no top cover with this method, but layers of fleece can be used to keep heat in, particularly at night.
The main advantage of a heated cable is your ability to build a large propagator and germinate and grow on large numbers of seedlings. Obviously this is essential for commercial operations (like us) but it is also very handy for growing large, warm climate plants on the bench without them getting constricted by each other.

I am completely spoiled as I have a heat cable setup left over from when my home tunnel was used as our nursery. I start off my seedlings quite early in a smaller unit and then pot them on twice on the bench before planting in their final positions in May.
The final plants are in 2.5L pots, and are good and stocky because I have the luxury of spacing them out. Plants grown in close proximity to each other will grow tall and spindly once their leaves start to touch as they head up in search of more light.
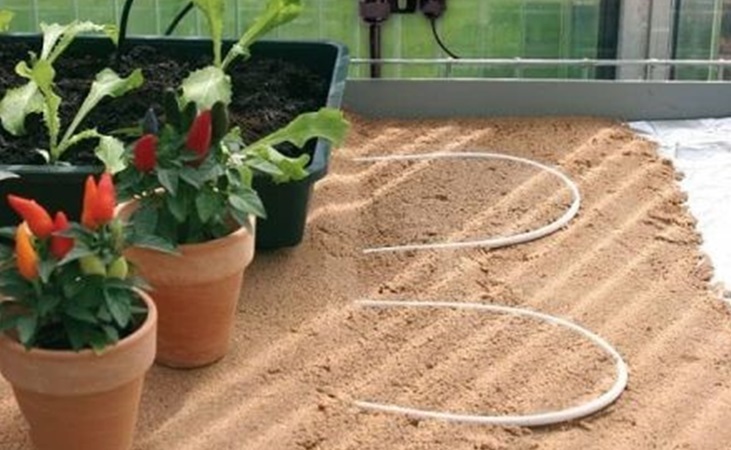
A heat cable needs to be buried in a layer of moist sand to work so it is not an 'out of the box' option, but it is versatile and the only solution for large scale growing. Rather than going into the whole rigmarole here, I have included an article on how to build a heat bench below; the most important bit is waterproof liner, as the sand must be kept moist to transfer the heat.
I would recommend using insulating fleece (below) to keep the heat in: it allows a higher temperature to be reached and makes the whole thing more efficient.
How to build a Propagation Heat Bench
Mini Polytunnels
While not strictly a propagator, it is also worth mentioning mini polytunnels or cloches (and, you're not going to believe this, we stock them) for warming the soil prior to sowing or for protecting recently sown or planted crops if the weather turns nasty.
I am reminded of their use as I am thinking of sowing carrots in the tunnel at the end of January (I did this for the first time last year and it worked very well). Carrots will need a soil temperature of at least 10˚C to germinate.

Mini Polytunnel complete frame kit- wood, kit and tubes
View ProductIt is often recommended to cover beds with black plastic to warm them, but some research has shown that clear plastic works better.
A mini tunnel is handy because it can stay on once the carrots have come up and give you a few more precious degrees in late January and early February.


