
How To Grow Sprouting Broccoli

Know Your Broccoli!
In Italian the word broccoli means 'little sprouts'. It is part of the Brassica family of vegetables, which also includes cauliflower, cabbages, Brussels sprouts, turnips and many of the Asian greens.
The words 'broccoli' and 'calabrese' are different varieties of the same vegetable. In general terms, Calabrese produces green heads whereas sprouting broccoli ('true broccoli' as some purists refer to it) produces purple or white heads. Confusing the issue further, the most common in the UK and Ireland is 'calabrese' which is labelled in many supermarkets as simply 'broccoli'.
It should also be clarified that sprouting broccoli is different to 'broccoli sprouts': these sprouts are 3-5 day old broccoli plants, and an increasingly popular 'microgreen' superfood.
Sprouting Broccoli vs Calabrese
There are some general differences between these two varieties that will likely influence which one you would prefer to grow.

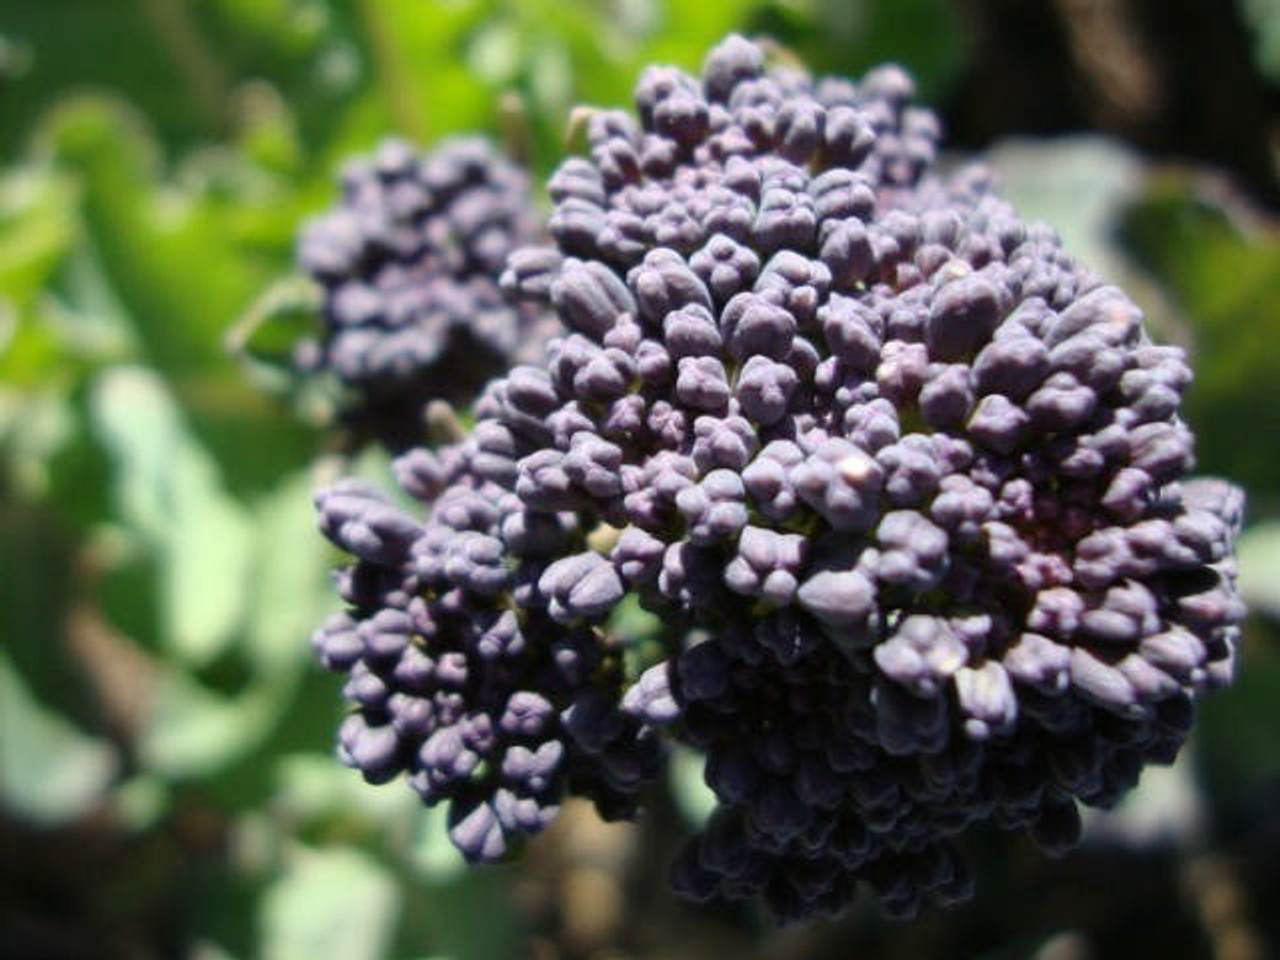
Appearance: Calabrese has a large dense crown of florets as well as secondary side shoots, while sprouting broccoli has a more 'open' head made up of multiple smaller florets. Calabrese is most commonly green, whereas sprouting broccoli varieties can be purple, white or green.
Growing Season: Calabrese has a much shorter growing season and is typically harvested in summer. Sprouting broccoli types are often sown in late spring or early summer for harvest the following spring - they are cold-tolerant and can be left to overwinter. Nonetheless some sprouting varieties have been specially bred for summer cropping.
Broccoli, Summer Purple
View ProductTaste: You may be well familiar with the taste of Calabrese from childhood, considering it's the type most often found in the vegetable section. Sprouting varieties tend to have an earthier taste, and are delicious when lightly steamed, combined with hollandaise sauce or used in Mediterranean dishes.
Sprouting broccoli can give you something to harvest at the quieter times of the garden year, and if you sow different varieties (including Calabrese) you can have a reliable supply of homegrown broccoli throughout the growing year.

Santee F1 Purple Sprouting Broccoli
View ProductRecommended Varieties
Santee F1: This 'dual purpose' variety can be sown from February to May for summer or autumn harvests that same year; or in June/July for overwintering. It produces a generous yield of tender purple spears which rise above the foliage.
Summer Purple: This variety is heat-tolerant and specially bred to crop in the same year; you can be harvesting in summer or autumn depending on when you sow. Sow at regular intervals and you can be harvesting from July up until November.
Sowing Sprouting Broccoli
You can sow purple spouting broccoli directly outside but I highly recommend sowing in modular trays, it's much easier and you are far more likely to achieve a win.
The advantages of sowing in modular trays are:
1. Excellent crop establishment.
2. Uniform plant development.
3. Quick transplanting with minimum root disturbance.
4. Gives the plant a head start against weather and garden pests and diseases.
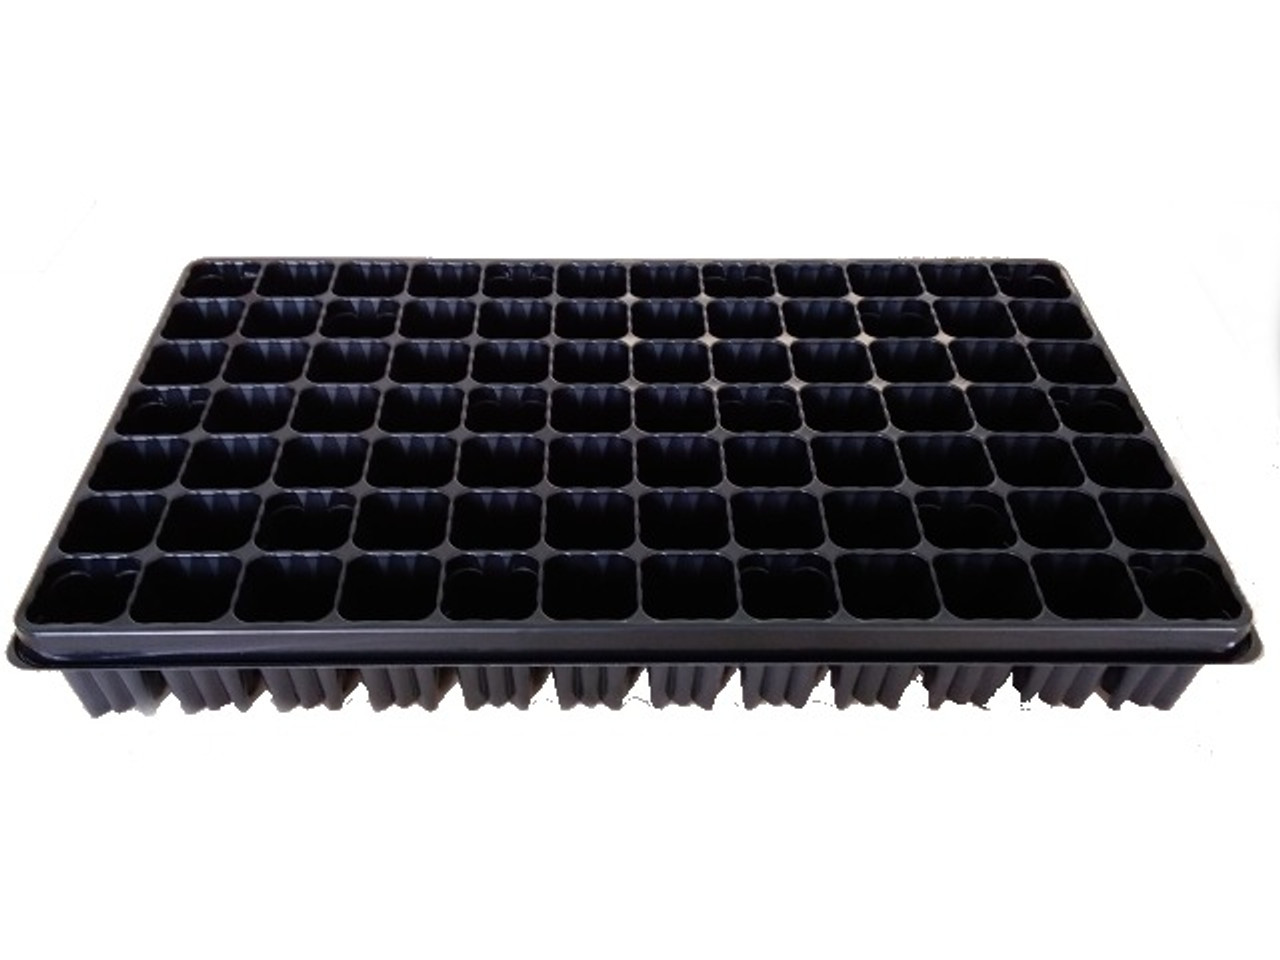
84 Cell Plant Tray For Seedling Propagation - 3 pack
View ProductSowing in Modular Trays
Use a seed compost which has a finer texture and lower nutrients than your standard multipurpose compost. We use a seed module tray with each section being approx. 2 inches deep. Here's what you do:
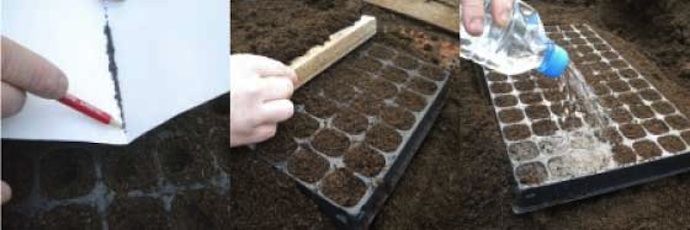
- Fill the seed tray with compost and brush off any excess. When filling the tray, rub the compost through your hands to break up any lumps.
- Give the tray a sharp bang on your table to settle compost.
- With your fingers make small depressions in each cell about a fingernail or 1.5cm deep.
- Sow 1 or 2 seeds per module (if 2 seeds germinate you will have to remove the weaker seedling).
- Cover the seeds with another layer of compost, then scrape across the top of the tray with a stick to remove excess.
- Gently water your seeds. A good tip is to use a plastic bottle with small holes punched in the cap. This is less likely to wash the seed around than the heavy spray from a watering can.
- Place your trays in your greenhouse, polytunnel, cold frame or windowsill to germinate. They should be ready to plant out in about 4 weeks.

Bottle Top Waterer 4 Pack
View ProductSprouting Broccoli Seedling Care
When growing seedlings indoors you need to be careful they don't get leggy, i.e. long spindly plants. Seedlings become 'leggy' when they get too much heat and not enough light.
If you are starting them off on a windowsill make sure they get as much daylight as possible. You can make a makeshift light box by placing a sheet of reflective tinfoil on the room side of the seedling tray. This will reflect daylight onto the darker side of the plant.

If the plants are on a heat bench or in a propagator and they are looking spindly, turn the heat down and try to give them as much light as possible.
If 2 broccoli seedlings have germinated in any of your modules you need to remove the weaker one. Don't pull the seedling out, as you'll damage the roots of the one you want to keep. Instead nip the unlucky one with your finger nail or cut with a scissors.

Small Vitopod Electric Propagator Single or Double Height
View ProductWatering
It's important to keep your seedlings properly watered before you plant them out in the garden. You are actually far better to under water (rather than over water) your plants. This may sound odd, but making the roots search for water helps to develop a better root system. It's a bit like keeping fit.
You do need to be careful, however, not to let the compost plug completely dry out: or it will form a crust on top and won't absorb the moisture the next time you water.
Planting Out Vegetable Seedlings
Related ArticleIt will all depend on the weather of course, but on a hot day you will need to water twice a day; if it's dull, every 2 days will be fine.
Hardening Off
Plants that have been raised indoors will need to get used to the outdoor temperature and conditions before they can be planted outside. This will take about a week to 10 days, depending on the weather.

The best way is to use a cloche, cold frame or mini greenhouse. You can leave the cloche off the plants on dry, frost-free days and replace at night. Gradually increase the time with the cloche removed until the end of the week, when you leave it off day and night.
If the weather is mild you may not need the cloche; just move the plants outside for longer periods each day. If you have started your seeds on a windowsill, you will need to leave them in an unheated room for a day or two before moving outside to the cloche.

Vegtrug Cold Frame 1m
View ProductPlanting Out
Broccoli is a much larger plant than you'd think, so giving it plenty of space is important. 75cm around each plant is essential. It will do best in a rich, well-drained soil and in partial shade.
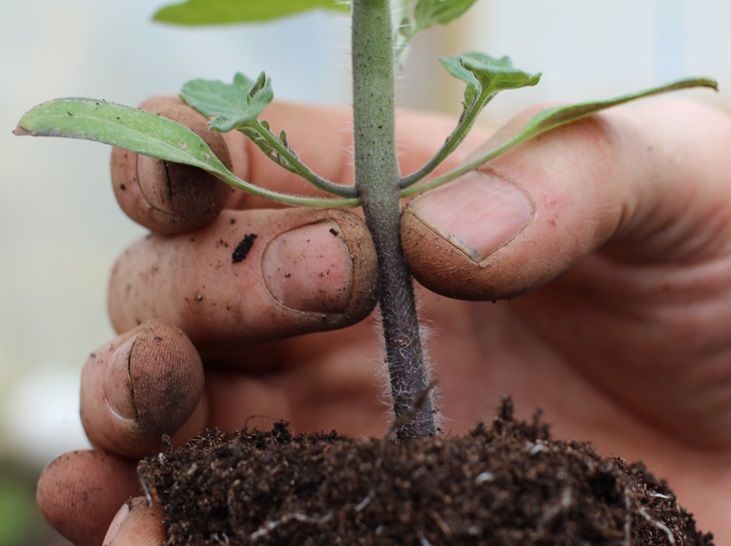
To plant your seedling, make a hole in the soil the approximate size of the seedling 'plug'. You need to push the soil in around the roots firmly with your fingers to get good contact with the soil. Don't firm down on the top of the soil, as this can compact it and prevent moisture getting down to the plants roots.

Crop Care
If it's a dry summer, don't forget to water your broccoli. You can add a mulch of compost or bark around the plants to help conserve moisture. Be aware that broccoli needs plenty of water at all stages in its growth. Dry plants will lead to poor growth and premature budding, resulting in small heads.
If your plants need a boost you can apply some seaweed/chicken manure pellets spread widely around the base of the plant.

Seafeed Natural Seaweed Extract & Poultry Manure Fertilizer
View ProductPest Control
Keep an eye out for the cabbage white butterfly eggs on your purple sprouting broccoli plants. Look under the leaves for the little yellow eggs and brush them off.
Pigeons may turn their attention to your broccoli when there is a lack of alternative greens. You will see sharp v-cuts in the edge of the leaves made by their beaks. Netting is the only answer here, and highly recommended if you have a pigeon problem.

Staking plants
With winter approaching, it's a good idea to prepare your broccoli for the coming bad weather - especially if you live in an exposed site. Draw soil up around the stems of the plants to help prevent them rocking in the wind.
If you live in a very windy area you can also stake the plants to be on the safe side. Drive a wooden stake in beside the plant and tie with some suitable soft twine. If the stems do become loose by the action of wind or frost, firm them up with your boot.

Harvesting Broccoli
Harvest your broccoli when the purple heads appear, and well before they turn to yellow flowers. When they first start to produce you'll probably be wondering 'was it worth the wait?', as you'll have a couple of little purple heads poking out of a lot of greenery. Don't worry: they'll keep producing new shoots when you cut them.
Your plants will start to produce in February and can sometimes keep going as far as May.

The shoots can be cut at about 15cm long. It is very important you don't let them go into flower, so even if you don't want to eat them straight away (which is unlikely!) harvest them anyway to keep the plant productive.
If you have too much, you can store it in a plastic bag in the fridge for a few days or blanch it and stick it in the freezer.
By the way, you can also eat the broccoli leaves. It seems a shame to waste the goodness in them. Chop them up and stir fry them with some tahini and a squirt of lemon juice.


