Can I Save My Own Vegetable Seeds?
Saving your own vegetable seeds in order to plant them again the following year (or even later) is a very worthwhile and rewarding activity - make no mistake. It’s something that has been practiced by gardeners and home-growers down through the generations. Although not every seed or food type will be suitable, re-using vegetable seeds in this manner can lead to great tasting food and hardier, more adaptable crops.
Heirlooms and Hybrids
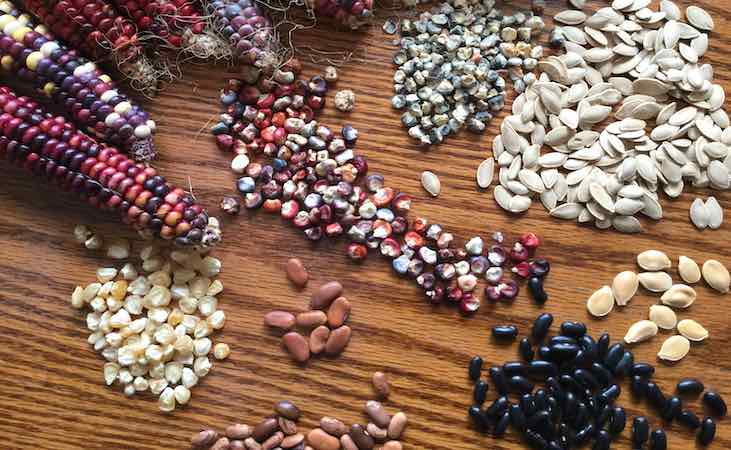
You may have noticed vegetable seed varieties being referred to as ‘heirloom’ or ‘hybrid’. The difference between these two types is key to understanding the benefits of saving and replanting vegetable seeds. ‘Heirloom’ isn’t just a fancy name; it refers to one of the defining characteristics of these seeds. Heirloom vegetable seeds have been passed down and shared from generation to generation of farmers and among wider communities. Heirlooms retain the quality and original traits of the plant that the seed was taken from. This is often referred to as being ‘true to seed’.
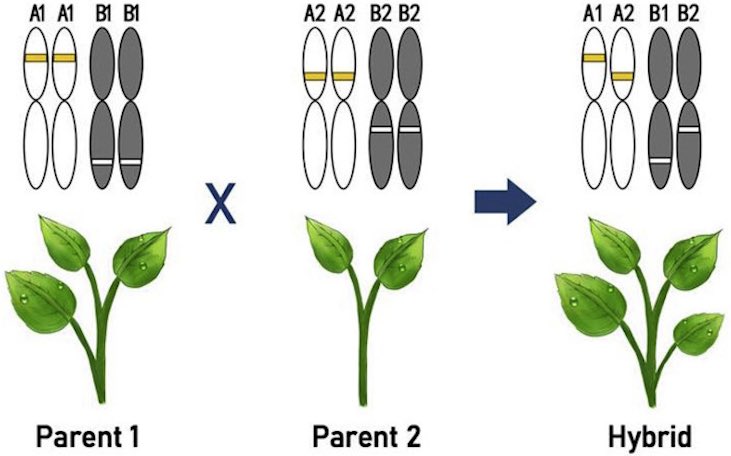
By contrast, hybrid varieties (often referred to as F1) are essentially ‘modified’: parent plants with different characteristics are combined. This practice has developed as a way of adding important qualities like disease, drought or pest resistance to food crops that might otherwise be susceptible to those things. It’s also done to optimise colouring and appearance for shop or supermarket display. Additionally it goes some way to ensuring a uniform, consistent harvest. Hybrid varieties are particularly important at the level of commercial food growing, as it takes a lot of the unpredictability and potential pitfalls out of growing food crops at scale. However, the optimisations mentioned above can sometimes come at the expense of taste, with vegetables losing some of their more distinctive qualities in favour of ‘dependable’ reliability. People also argue that the increasing reliance on hybrid varieties has lead to a loss of genetic diversity in our vegetable crops. When less and less is left to chance, vegetable crops don’t have the chance to adapt to local climates - naturally, and over time.
When it comes to saving seeds, hybrids are generally not suitable. This is because when you replant the seed from a hybrid, the result can be a plant with wildly different characteristics to the parent plant - and often undesirable ones. If you’re looking to produce a plant with the same qualities, it’s not going to happen with a hybrid.
Benefits of saving vegetable seeds
- Seeds may not seem like the most expensive outlay in the field of gardening, but costs can build up in the long run. Saving seeds to use again is a good way of reducing your expenditure.
- Watching robust, healthy-looking plants grow from seeds that you’ve saved and planted yourself is a very rewarding experience, and one gives you a fuller appreciation of the natural garden life cycle.
- Food crops grown from heirloom or open-pollinated varieties result in crops that become more and more resilient over time as they adapt to your local climate and growing conditions. In turn this can reduce the amount of time spent on irrigation, fertiliser and plant protection measures.
- Getting involved in seed-saving groups or exchanges is a great way of fostering community and interconnectedness. Many allotment groups have a tradition of seed-swapping, and it’s a great way of discovering vegetable varieties with delicious tastes.
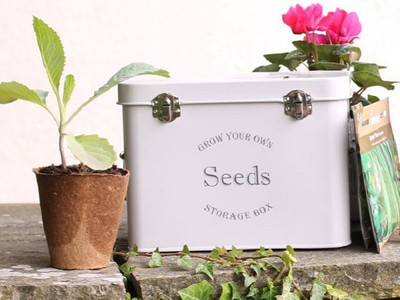
View the Seed Packet Storage Tin
Open pollinated seeds
Open-pollinated seeds and heirloom seeds are two descriptors that you’ll hear a lot when it comes to saving seeds, but they’re not completely the same thing. An heirloom variety must be open-pollinated, but not all open-pollinated plants can be heirlooms. Open-pollinated seeds come from plants that have pollinated naturally: either they are self-pollinating or they’re pollinated by birds, bees, insects etc. What this means is that when you replant the seeds, you will end up with a plant that has the same characteristics and qualities. Open-pollinated varieties tend to take longer to mature, but they’re popular with gardeners and growers because of their diversity and adaptability.
Cross Pollinated Plants
‘Cross-pollinated plants’ refers to where pollen from one plant is transferred to another. This can happen via insects, pollinators (like bees) or even the wind. When two plants cross pollinate, the genetic material of both plants mixes and produce a seed with characteristics from both. This resulting mix can be unpredictable, and it’s what you want to avoid if you’re in the business of saving seeds. Having said that, you can save seeds from cross-pollinating plants: it just requires a bit more care and attention. Ideally, you should avoid growing more than one variety of the same crop - e.g. stick to growing just one cucumber variety in your garden. Even when plants are not regarded as cross-pollinators, the process can still occasionally happen: so in general it’s good practice to stick to this principle if you intend to save seeds. Plants in the Cucurbitaceae (or gourd) family are particularly notorious cross-pollinators. This includes squash, pumpkins, zucchini and watermelon.
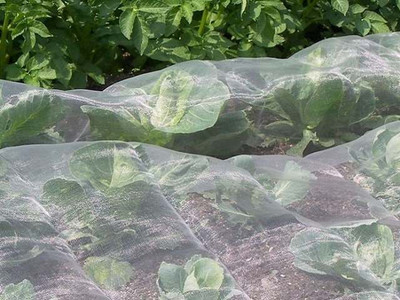
Other ways of trying to prevent cross-pollination include crop covers, netting or tying paper bags around susceptible plants, and trying to put some distance between potential cross-pollinators in the garden.
Tips for Saving Seeds
When choosing the particular plants that you’re going to harvest the seed from, look for plants that are particularly vigorous-looking, that have proven to be particularly hardy or the ones that taste really good. The last option comes with a ‘but’: it’s not always possible for you to harvest the plant for food and save seed at the same time, and often you need to choose one or the other. The thinking behind choosing the best plants is poetically simple: if you save and re-use seeds from a hardy, disease-resistant plant, the next year you will also be rewarded with a hardy, disease-resistant crop.
You don’t have to save seeds only from your own homegrown produce either. Any time you buy heirloom varieties of tomatoes, cucumbers, melons etc from a vegetable market, make sure to save the seeds. These varieties take really well to seed-saving and will reward your efforts in spades.
Tomatoes
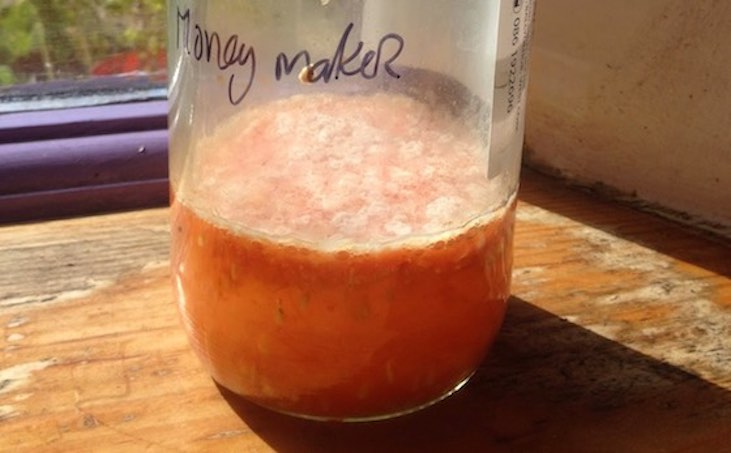
Collect tomato seeds when the tomato is fully ripe. You will know when tomato seeds are ready for harvest when the tomato is firm but tender. When harvesting tomato seeds in order to save and replant them, it’s best to use a fermentation process. Firstly you cut the tomato in half with the stem and blossom ends on either side. You then remove the seeds from the cavity and put them in a bowl or jar. There will usually be some accompanying juice and tomato pulp that comes along with the seeds when you take them out. (Did you know that the gel that surrounds the seeds in the cavity has properties that stop the seeds from germinating?) Your next step is to leave the seeds and pulp in the container in a warm-ish area for 2-4 days. This will prompt the fermentation to take place. Eventually a layer of mould will be seen forming on the surface above the seeds and the mixture. When the fermentation process has completed, remove the mould and the pulp (as well as any seeds that are seen floating - these are regarded as ‘bad seeds’). Then pour the remaining mixture through a sieve to separate the seeds, before rinsing them in fresh water.
After all that, it’s time to space the tomato seeds out and allow them to dry. You can use a paper towel or a glass dish for this step. When the seeds have fully dried, place them in an envelope and label it with the variety and the date. Store the envelope(s) in an airtight container in a cool, dry place. Tomato seeds can remain viable for more than 5 years.
Heirloom tomatoes have a great reputation among gardeners. They might be one of the best examples of a crop that’s worth saving seeds for. They’re renowned for their flavour and vigour compared to the store-bought tomatoes that many will be familiar with. They can also have quite unique shapes and colours.
Read: Vegetable Seed Sowing Notes

Peas and Beans
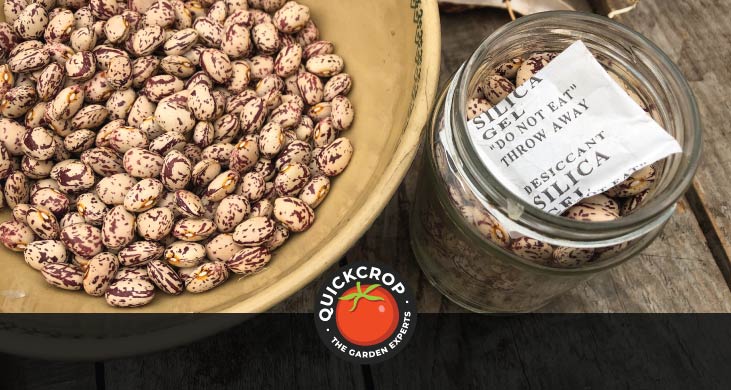
Peas and beans are ideal if you’re a beginner to the practice of seed-saving. They’re easy to save and the seeds are relatively big - in fact, the seeds are basically beans themselves, and thus easier to handle. Cross-pollination is not as big a problem with bean plants, but it’s best not to grow different varieties side by side if you intend on saving seeds.
When harvesting bean seeds, you should let the pods fully ripen on the plant until they’re dry and turning brown. At this point you should be able to hear the seeds rattling around if you shake the pods. The dried pods can be picked individually or you can take up the entire plant and transfer it indoors, where it can be left hanging in a shed for another couple of weeks so that all the pods can mature. One way of checking if the pod is dry enough to be harvested is to press your fingernail into it - if your nail leaves a dent, they’re not quite there yet.
If you’re harvesting a relatively small amount of seeds, it should be fine to remove them from the pods by hand. If you have a lot of pods and seeds, you can utilise some ‘methods’ to do so, such as threshing, stomping, or placing the pods in a pillowcase and bashing it against a wall (!)
Once pods and seeds have been separated, place the bean seeds in an airtight container, label the varieties with the date and store them in a cool, dry place. Bean seeds can remain viable for 4 years or more, but it’s always best to plant them in the following year.
Cucumbers
Again, if you’re saving cucumber seeds, heirloom varieties are your best bet. Heirloom seeds will be ‘true to seed’ and produce a harvest with the same qualities as the parent plant.
To harvest cucumber seeds, you should let them ripen and mature well past the point where you’d harvest them for eating. This may seem unusual if you haven’t seen it before, but the plant should be yellow or a shade of orange at this stage. Cut the cucumber lengthwise to expose the seeds, transfer the pulp, gel and seeds into a clean container or jar, and add some water to cover.
The next step is similar to what we did with tomato seeds earlier. Place the container in a warm spot and allow the mixture to ferment, stirring daily. After a period of three days or so, the seeds will have started to sink to the bottom, separating from the gel coating. Once most of the seeds are at the bottom, it’s time to start drying them. Skim off or remove the debris and bad seeds that will have floated to the top, and rinse the seeds in fresh water. Pass the seeds through a sieve and place them on some kitchen towel to dry. When the seeds have fully dried, place them in an airtight container (put them in an envelope beforehand if you prefer) and label the variety and date of harvest. Store them in a cool, dry place and cucumber seeds are good for 5 years or more.
Read: How To Germinate Seeds Successfully
Peppers
Peppers are self-pollinators, so they are a very suitable plant when it comes to harvesting and saving seeds for future use. Pepper seeds should be harvested when the plant has fully ripened and has started to wrinkle. Remove the seeds and place them on a kitchen towel, spacing them out so that they’re not clumping together. When the seeds have fully dried, you shouldn’t be able to make a dent in them with your fingernail or teeth.
Transfer the seeds to an airtight container and store them in a cool, dark place. The seeds will remain viable for many years, but germination rates will be better the less time you leave them in storage.
Lettuce
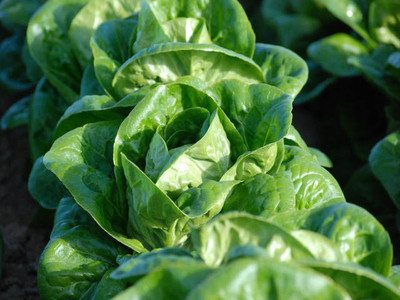
Lettuce is a (mostly) self-pollinating annual, and as such it’s another very good option if you’re new to seed-saving. When lettuce flowers and goes to seed, this is referred to as ‘bolting’. When this happens, the leaves become bitter and will be unpleasant to eat. However, this is also the optimum time to get harvesting seeds for future use. The flower heads will turn yellow or brown, and you will find the seeds located under a white ‘puff’ that forms near the top.
Lettuce seeds are oval-shaped with a pointy tip. The seeds should fall out with minimal effort when you break apart the flower heads. Collect them in a container or a pail. You may find that some debris and fluff is mixed in with the seeds: it isn’t something to worry about too much, but much of the fluff can be blown away. Lay the lettuce seeds out on some paper towel or a dish and let them dry fully before storing. As with all seeds that we’re saving in this article, the most important thing about storage is that there’s no moisture, which can cause mould to grow.
One lettuce plant contains an abundance of seed, so you can still use up most of your harvest (hopefully!) and just set aside two or three plants, allowing them to go to seed. Lettuce seeds are viable for a good four years.
Good Luck!
That should give you a good idea of where to start when it comes to seed-saving. It’s a very rewarding activity and may well give you a whole new appreciation for some foods that you might take for granted. The above examples aren’t the only candidates for seed-saving, but they are good bets for beginners. You can also save seeds from melon, squash, carrots, broccoli, beets and numerous other crops - some of these do involve a fair bit more difficulty, so start with the easier ones and see how you get on.

